


DIY Reclaimed Wooden Cable Reel Semicircle Floating Table

Hiya guys!
This is the 2nd part of my detailed account about making new floating standing tables for my studio from a reclaimed wooden cable reel I found. In the 1st Part ( Making a Quarter Corner Floating Standing Desk from Reclaimed Wooden Cable Reel ) I went through how I made my new studio computer desk from one 1/2+ of the cable reel.
In this post I'll be going in to how I turned the other half of the cable reel into this floating standing table, custom fit to the pillar in my studio.

My studio was built as an additional extension, with its outer wall running through a supporting pillar of the house. Though it was an esthetically pleasing feature to the studio it proved prohibitive when it came to organizing furniture properly, decreasing space in my studio. This floating standing table was made to solve this problem while still enhancing the beauty of this feature.
To enable you guys to be able to read the WIP's of both tables individually if you wanted to, some elements of this post will be similar to the Quarter Corner Floating Desk post.
The Beginning
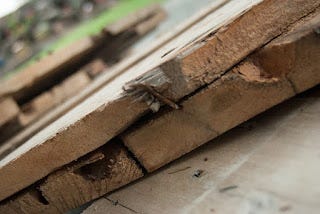
When I first found these they were way, way more filthy (home of snails, mushrooms, moss and who knows what), and were cleaned and disinfected as best as possible with boiling water and detergent.

I never managed to clean them entirely and there is still mud deep down in crevices that just could not be reached. However I'm confident the boiling water did its job at disinfecting and a little mud never hurt anyone.
Only the most rudimentary tools were used to make these tables throughout (except for my trusty power drill!) so it took some time (about a month) and quite a bit of bone aching elbow grease in the making.
As mentioned in my previous post, I'm not an expert, but hopefully this post may give you some ideas for your own projects!..
Tools
Hand Saw
Miter Box
2 Clamps
Chisel
Jig Saw (not powered)
Power Drill
Hand Rasp
90 Degree Rulers
Sandpaper (Grade: P80, 180 & 240)
Materials
Reclaimed Wooden Cable Reel (this one was about 51 Inches in diameter)
1" x 2" Inch wood (I happened to have some store bought in the house)
1.5" x 1.5" reclaimed wood
Plywood
1.5" Screws
2" Screws
Plastic Anchors
Starting Off
What was exposed of the pillar in my studio was less than half of the columns circumference, so I needed to measure the exact degree of the exposed pillars curve and cut the cable reel accordingly.

Luckily I had this sort of bridge structure in my garden for a base to cut this huge (extremely heavy) cable wheel

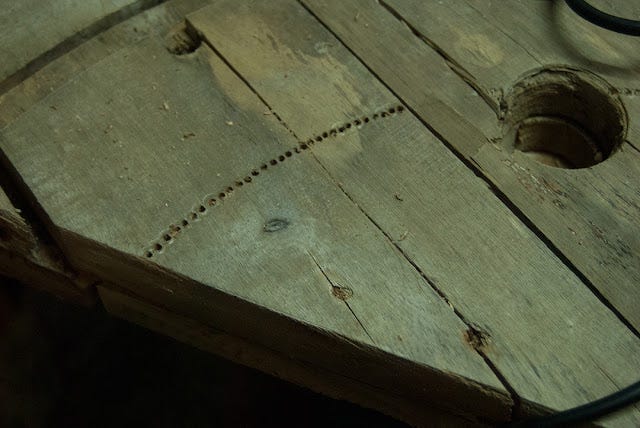
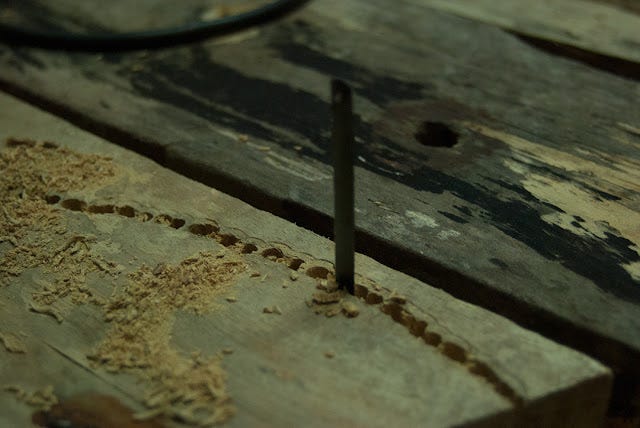
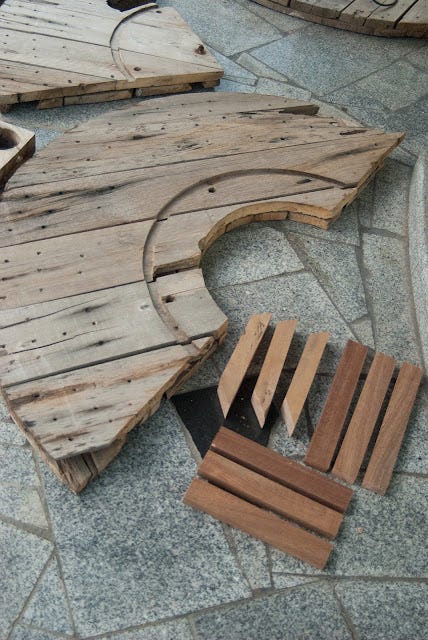
Once the -1/2 piece had been cut I needed to cut an inner semicircle hole to fit snuggly over the pillar.

Making The Brackets
With the cable reel semicircle table top cut, I could proceed with cutting the wood needed for the brackets and support.
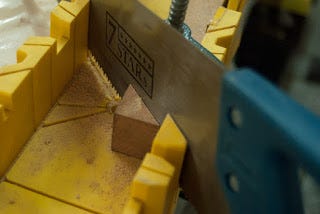
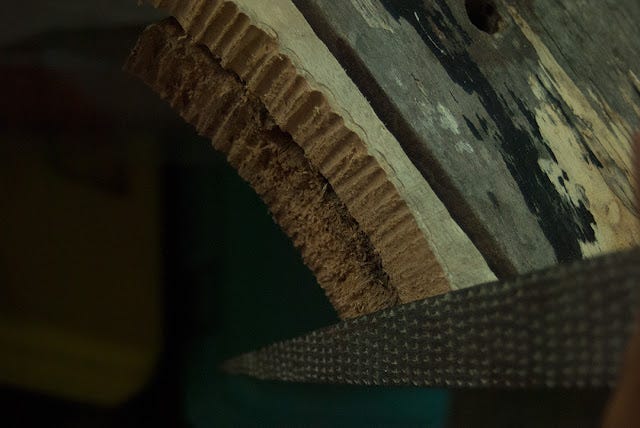
All the bracket pieces were sawn, carved and shaped (helped by a hand wood rasp for the cross section piece) then sanded ( using a rough P80 first to smooth out any deep grooves left behind from the wood rasp, then a 180 and finally a 240 sandpaper).
The cross section piece was cut at 50 / 40 degree angles (I think it looks nicer than a 45 /45 ) and the top piece of the bracket was cut slightly longer than the one that would be attached to the wall.

The 1.5" screws were used to screw the bracket pieces together.

The backs of the brackets were also sanded into slight curves to fit the circular pillar snuggly.
Holes slightly bigger than the screws I was to use, were drilled in the cement pillar, enough to insert plastic anchors that would ensure the strength needed for the brackets to hold up the weight of the cable reel table top.
Testing the Table Fitting and Making Plywood Base.
Now after a little testing with the bracket and table top alone I decided to add a plywood base for a little more support. I found when I tested attaching the brackets to the cable reel top, that about two of the screws were not positioned where the wood of the cable reel would give a good hold. So to solve this problem and to even out the weight distribution of the table top over the brackets as well, a plywood support was made as a base.


The plywood base was placed in position on the mounted brackets first so I could trace where the holes would need to be drilled. Besides the holes for the brackets, holes were drilled between the brackets to screw the base into the table top for extra support.

Once I was happy with the fit of everything, The table was fully installed and strength tested for 24 hours before applying the final stain and wax finish to the wood.

The Final Wood Finish
Now that all parts had been cut, sanded, fitted and strength tested all that needed to be done were their final finishes. If you are interested in what I did for their wood finishes check out next weeks blog post ‘Candle Wax Wood Counter Finish (with Stain And Beeswax Finished Supports).’
The Final Installation
Once the wood finishes had fully dried, the table was ready for its final installation.
The brackets were mounted to the pillar first. The cross section of the brackets was turned aside to screw in the screws situated in the corners.


The cable reel top was then flipped over and the stained plywood base screwed into position.


When it came to placing the heavy cable reel counter on top of the mounted brackets, all the brackets cross sections were fully screwed in first to take the weight of the table top. Then outer screws of all the brackets were screwed in first, after which, one by one, each bracket had its cross section unscrewed and turned to the side so that the inner top screw could be screwed into the cable reel top. Then, before moving on to the next bracket, the cross section was tightly screwed back into place so that the heavy table top would get the maximum support needed at any one time during installation.


And that's it!!.. I'm really super happy with how these tables turned out. They were totally worth the invested time (a good amount of which I was sore to my bones from the effort) for good gorgeous furniture that will last me a lifetime I'm sure!..
Please don't hesitate to ask away if you have any questions. I am just a novice at this but hopefully this was of help to you!
If you are interested in how the other half of this cable reel was transformed into a Corner Floating Standing Desk, do check that post out too!
Thanks for the visit!.. :)